Tutorial
This page walks through a complete RadQC session: launching, configuring a project, annotating images, and locating the output file.
Launching
After installing RadQC, launch the application. The landing screen presents two cards: one to start a fresh session, one to resume an existing project.
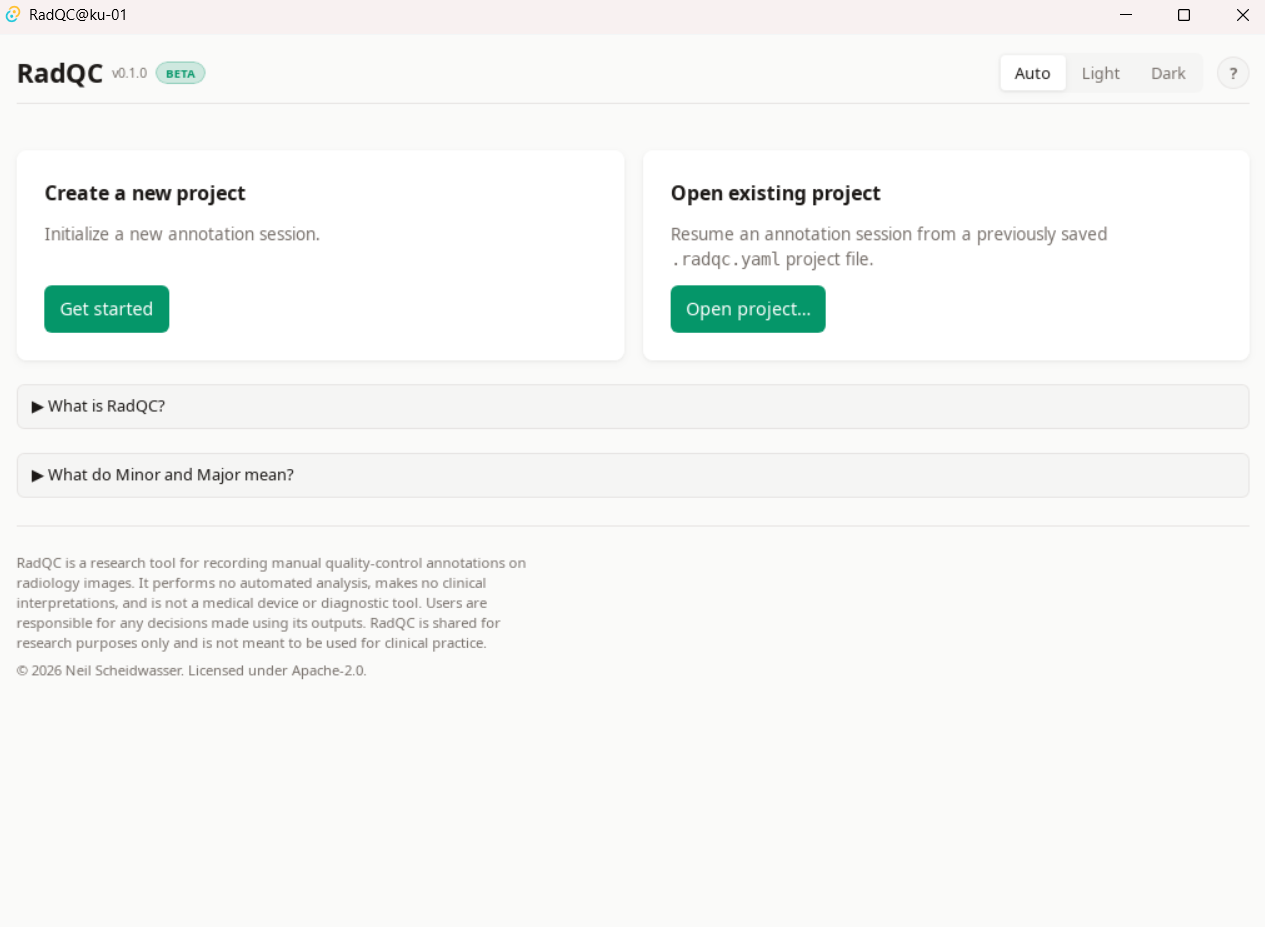
The top-right corner offers two controls available throughout the app:
- The theme toggle (Auto / Light / Dark) — choose how the UI is themed; Auto follows your system preference.
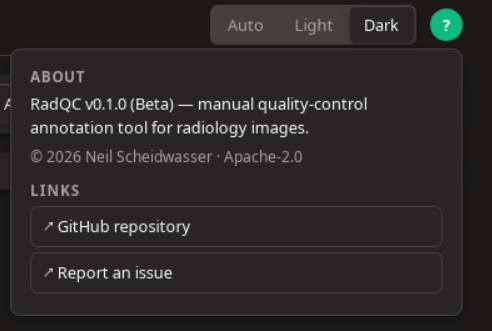
- The help button (?) — opens an About popover with version information, license, and links to the GitHub repository and issue tracker.
Create a new project
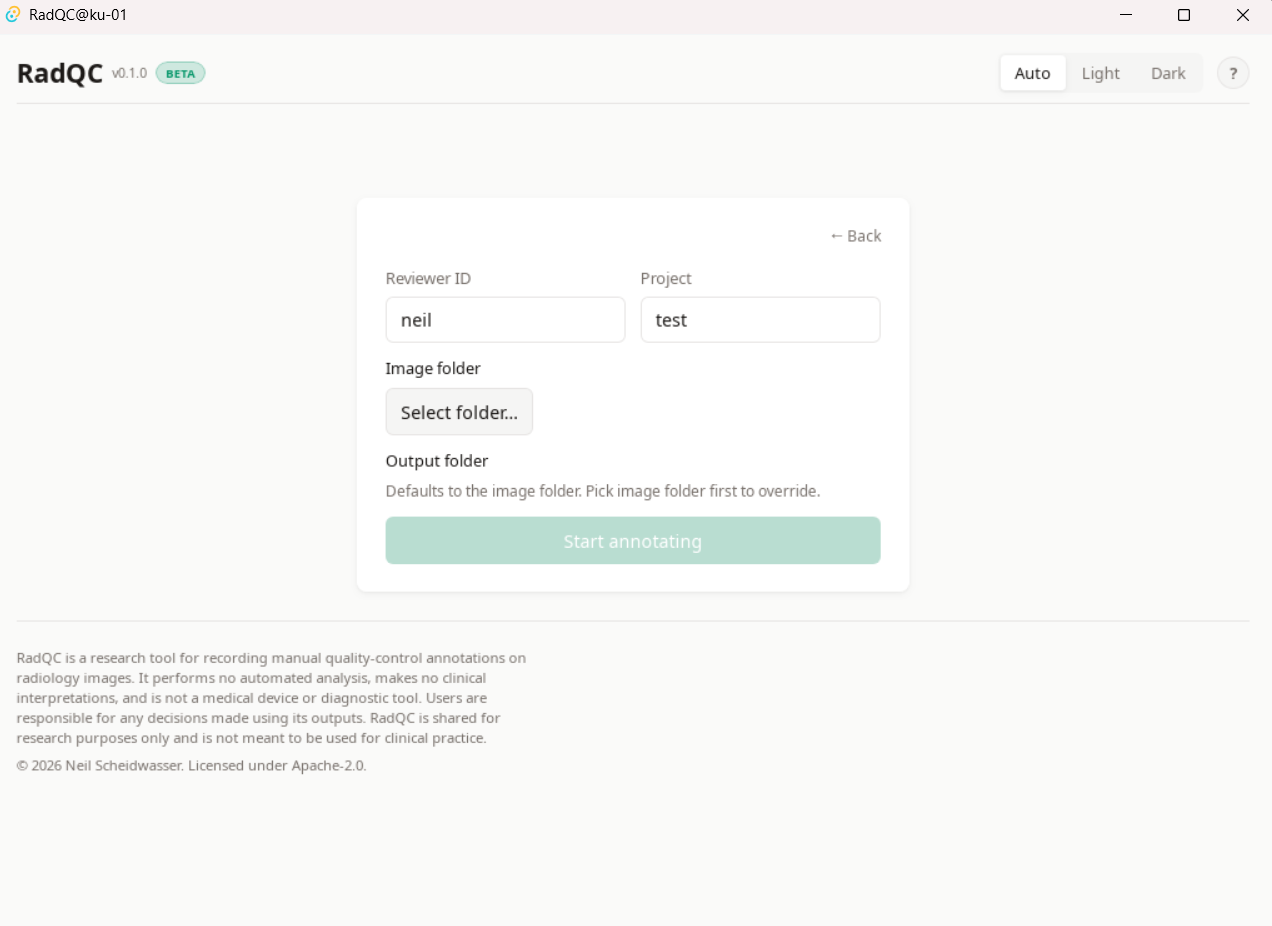
- Click Get started on the "Create a new project" card.
- Enter a reviewer ID (your initials or any identifier) and a project name.
- Click Select folder… under Image folder and choose the directory containing the images to review (PNG and JPEG are supported). Subdirectories are walked recursively.
- Optionally pick a different output folder under Output folder (defaults to the image folder).
- Click Start annotating.
Open an existing project
To continue an earlier session:
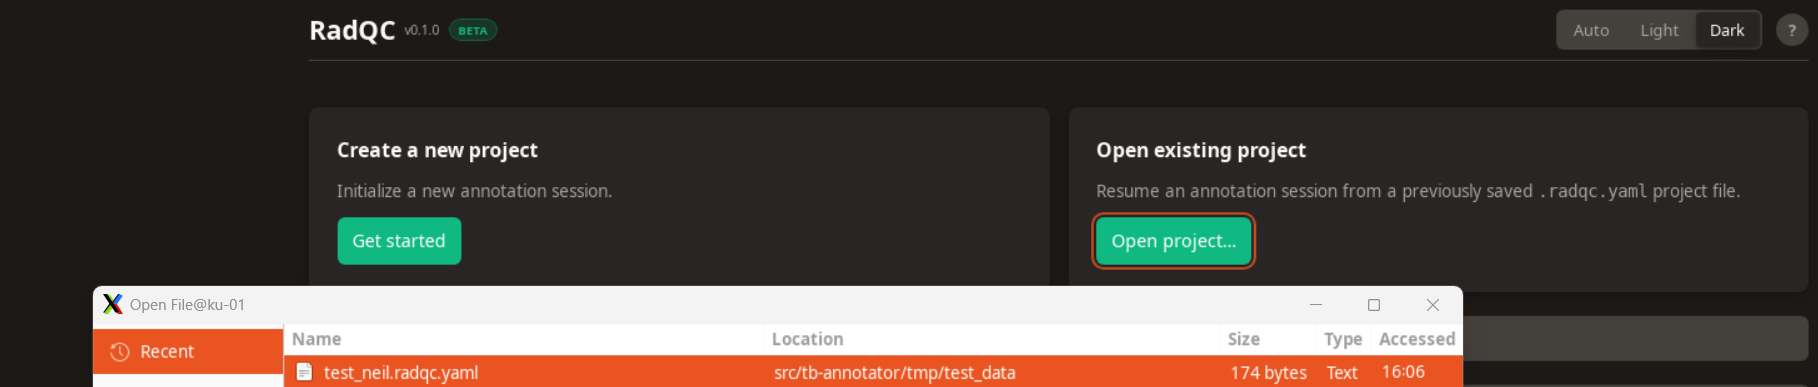
- Click Open project… on the "Open existing project" card.
- Select the
.radqc.yamlproject file from a previous session. - The application loads the existing annotations and resumes where you left off.
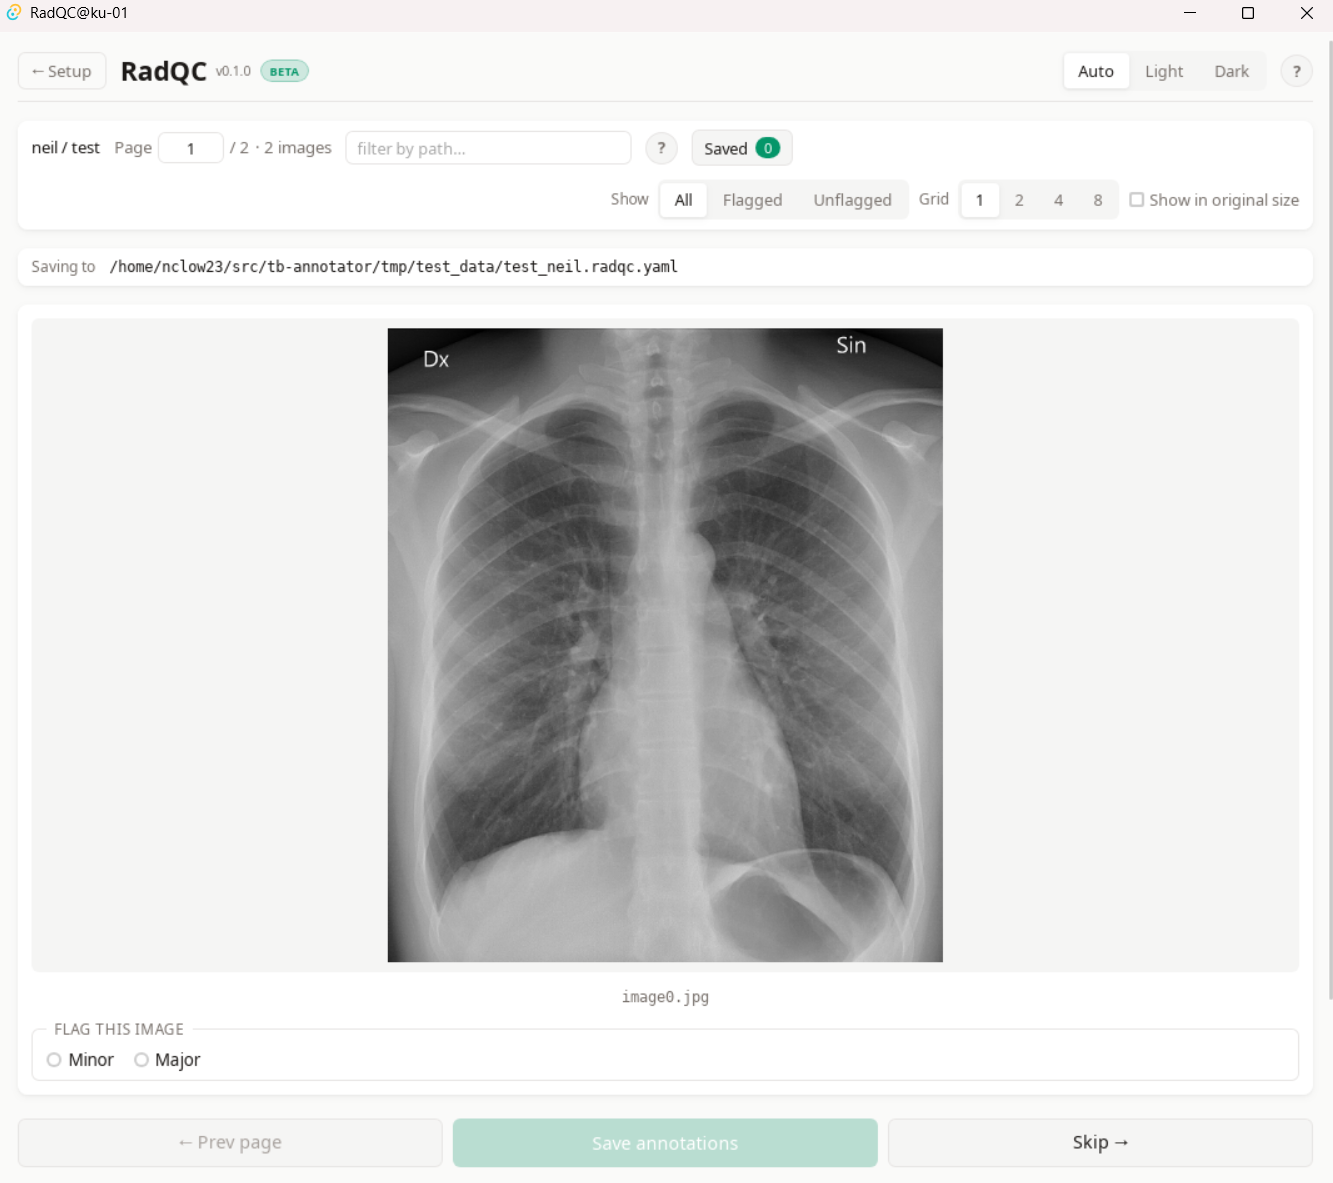
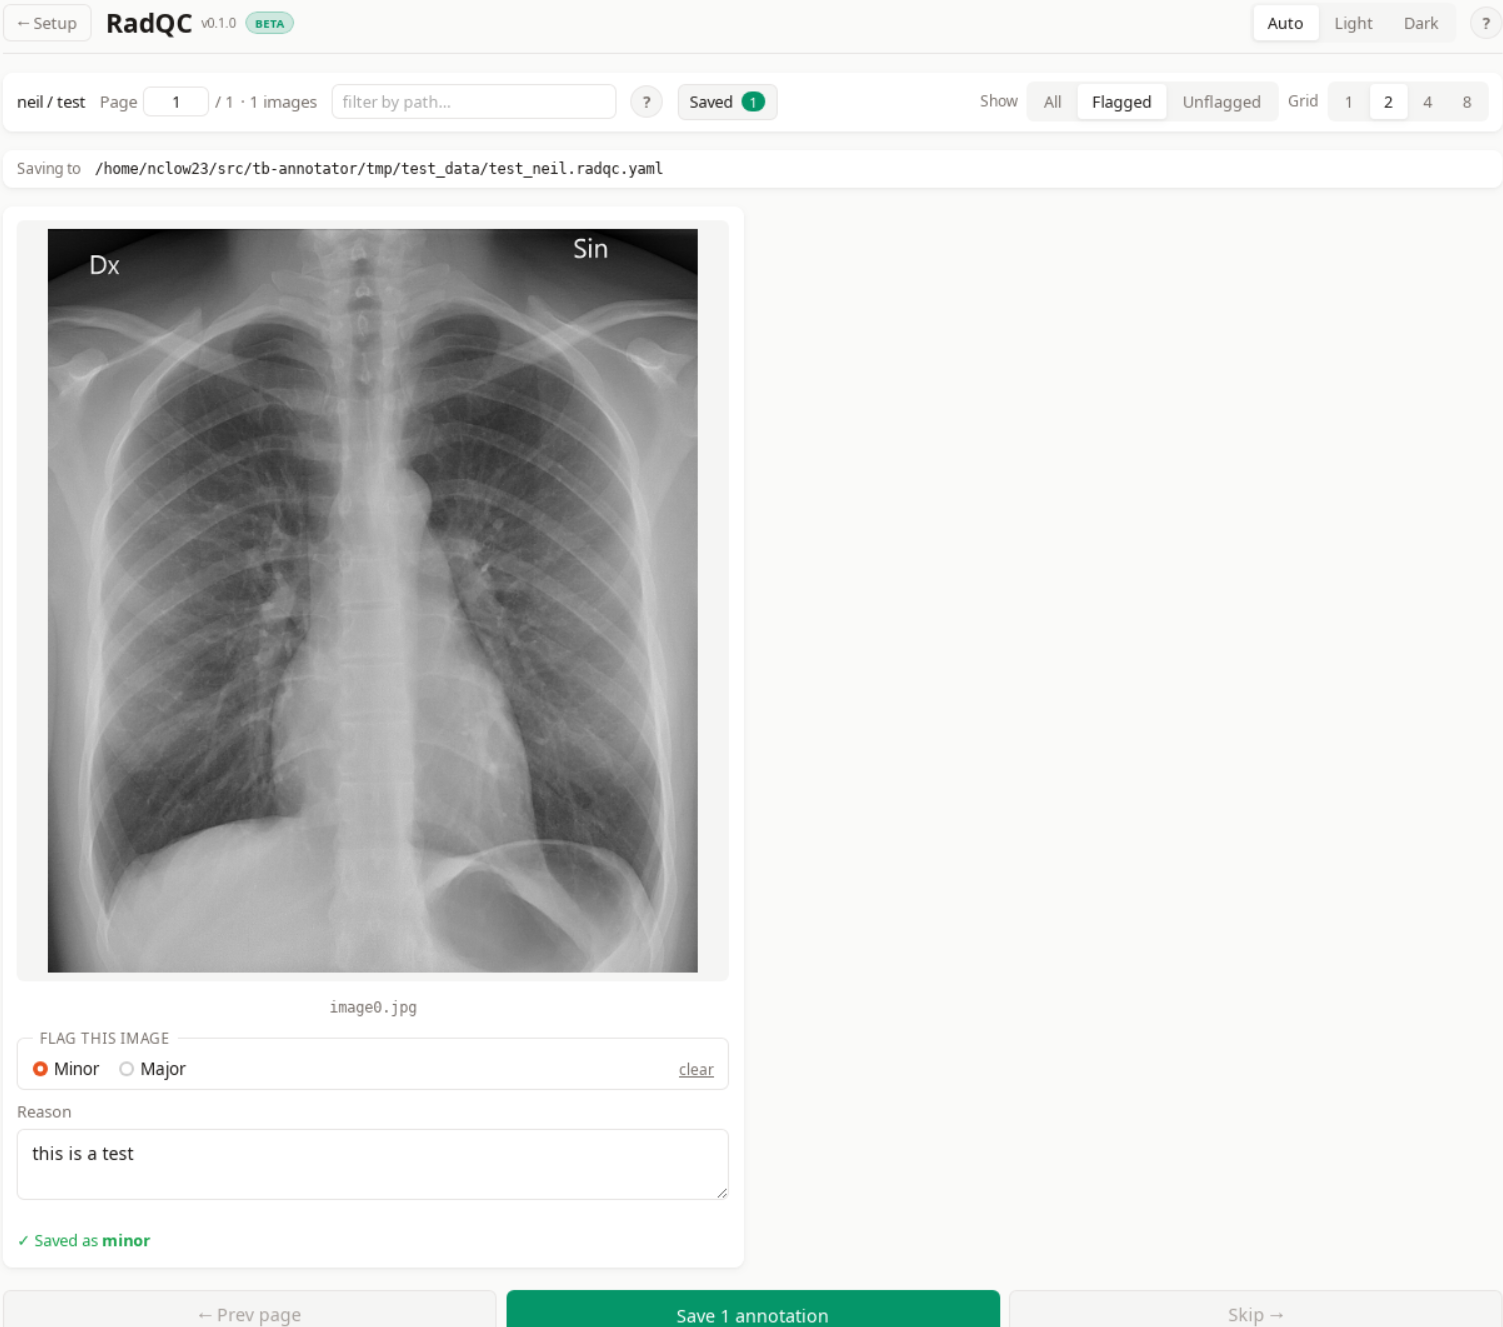
Annotating an image
For each visible image:
- Pick a flag: Minor (usable but with a noted quality issue) or Major (unsuitable for use).
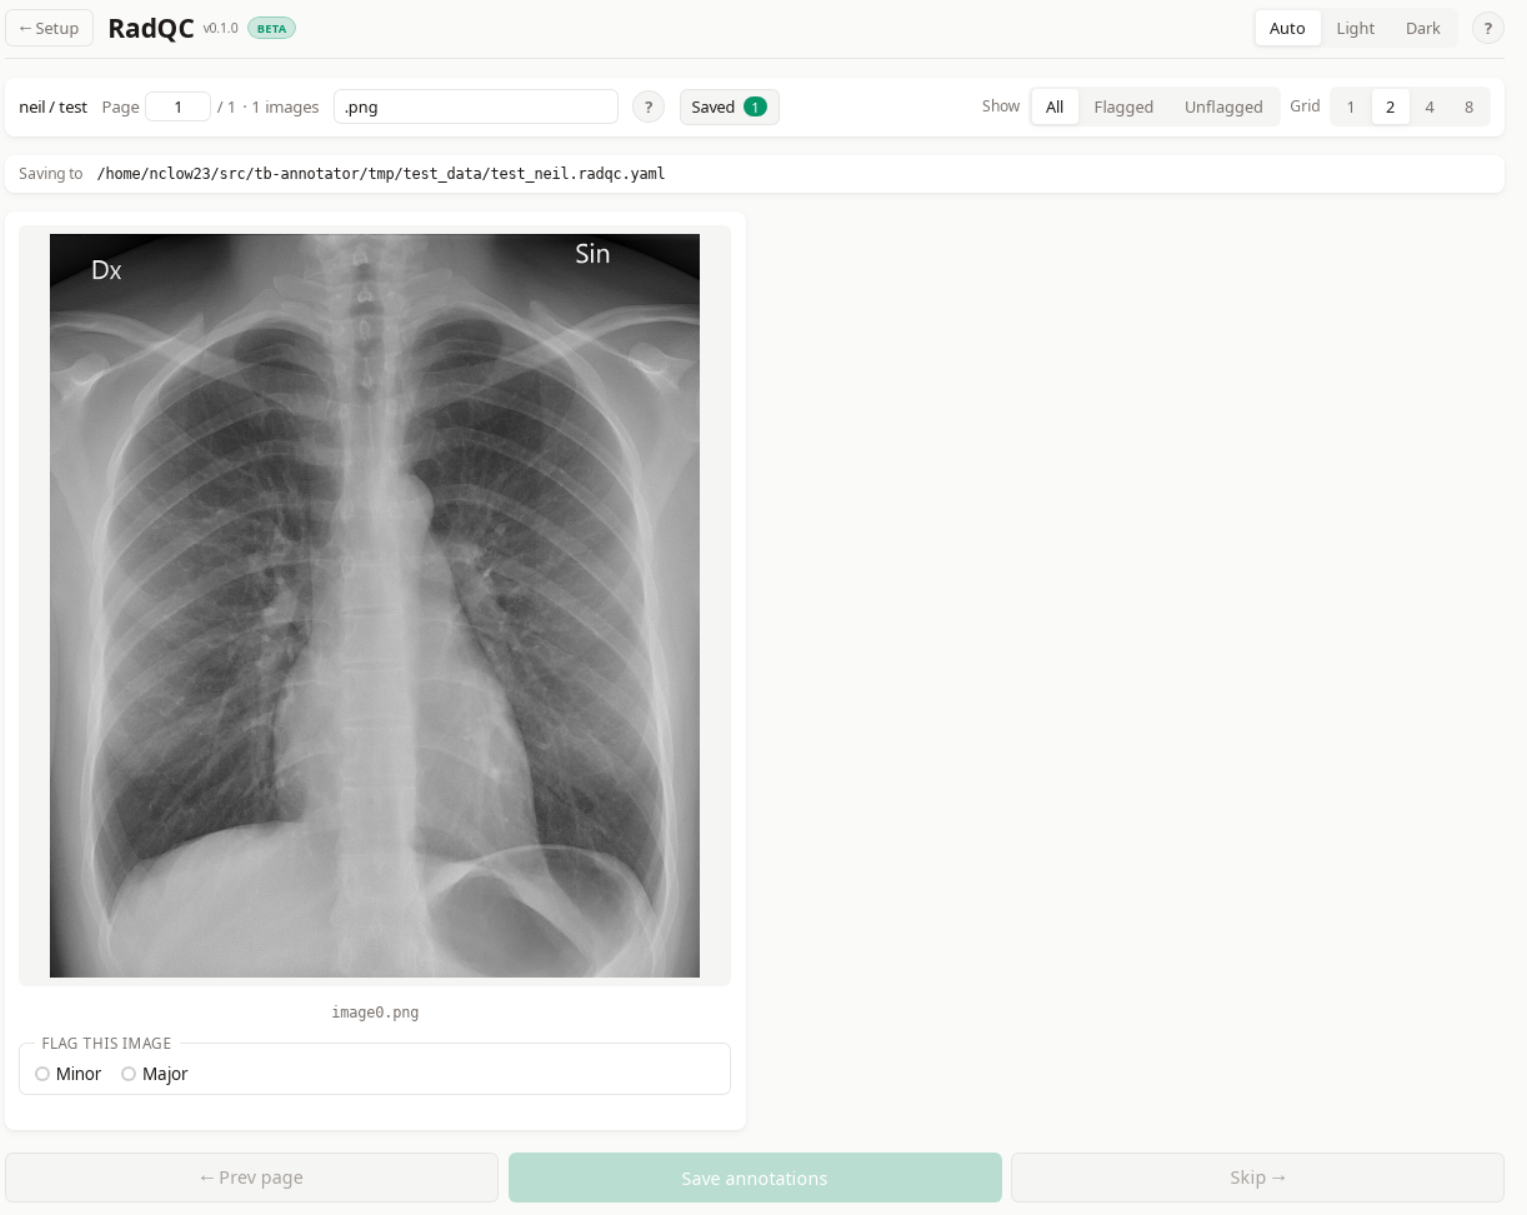
- Leave both fields empty to skip an image.
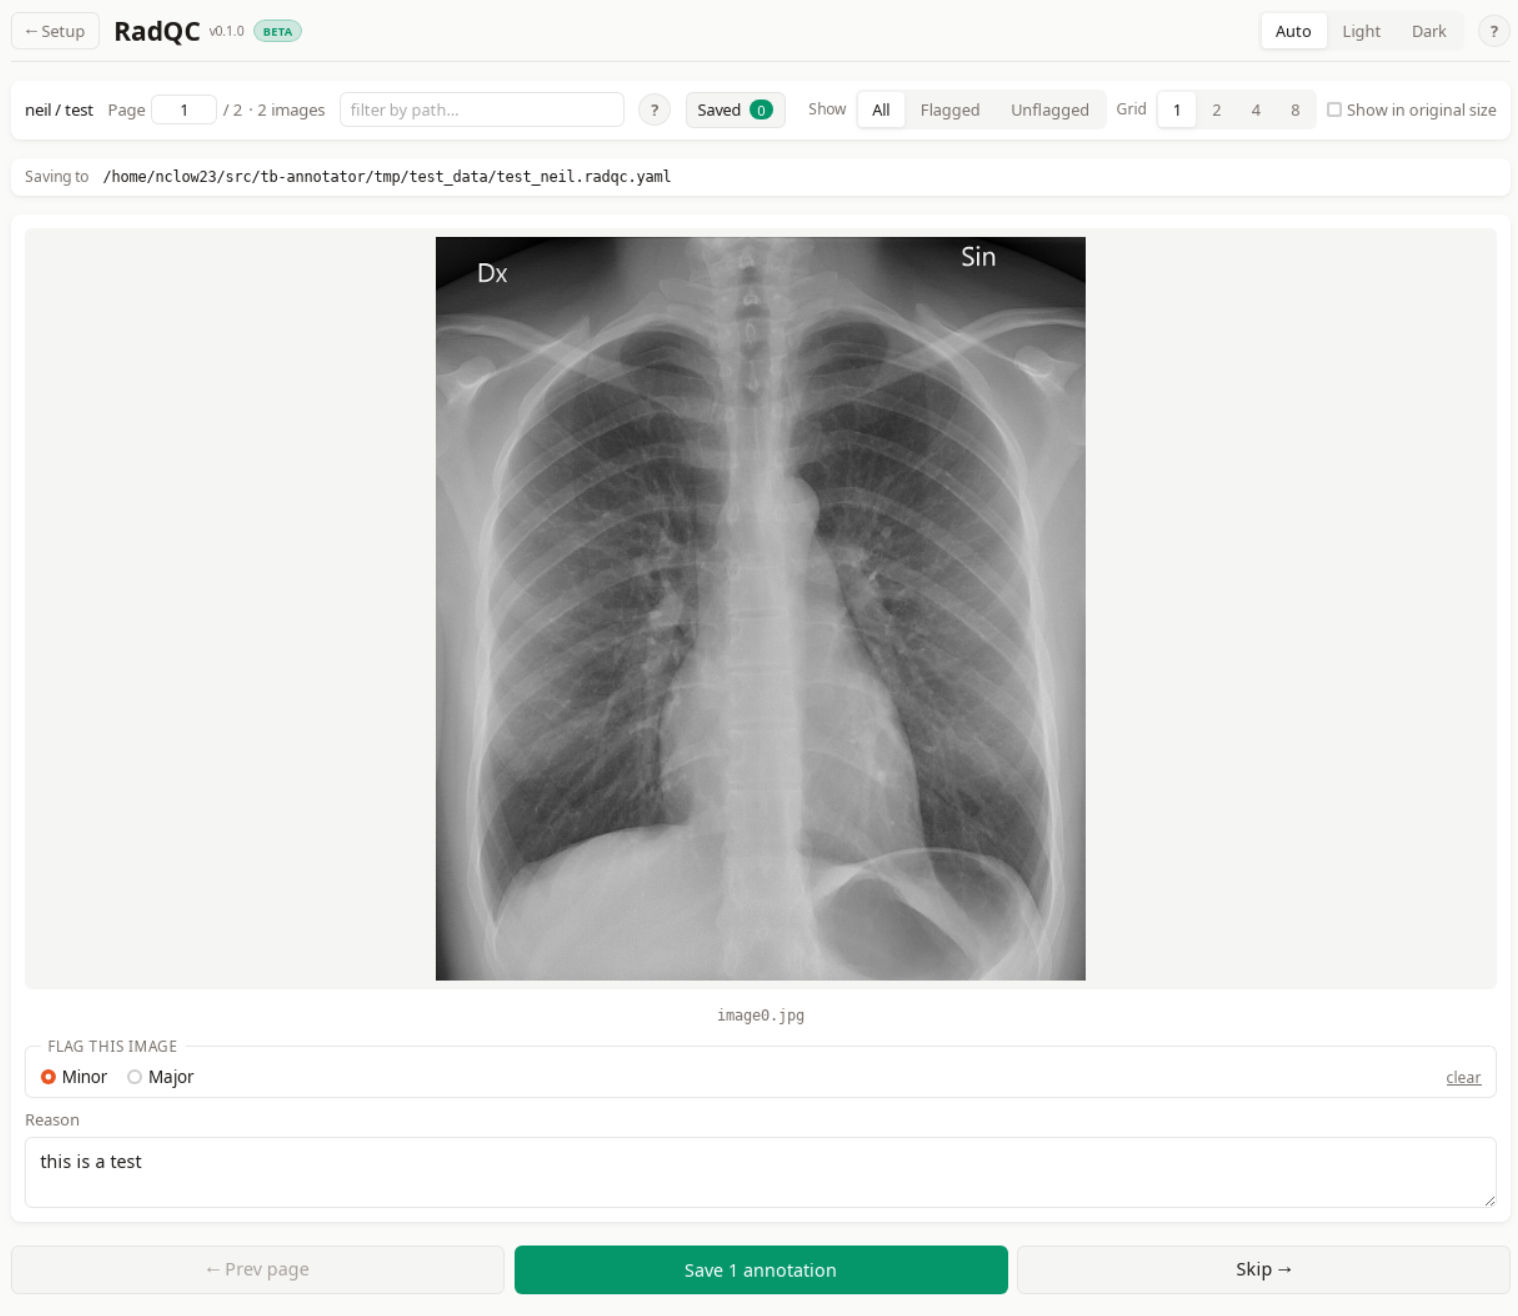
When you select a flag, a Reason textarea appears. Provide a short description of the quality issue. The reason is required when a flag is set.
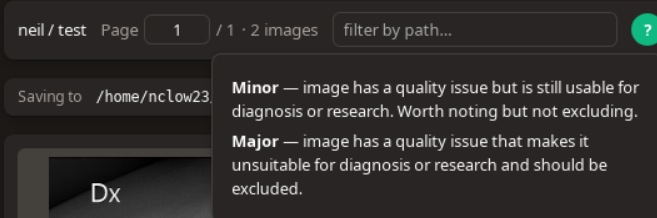
If you're unsure what Minor and Major mean, click the ? icon in the meta bar for short definitions.
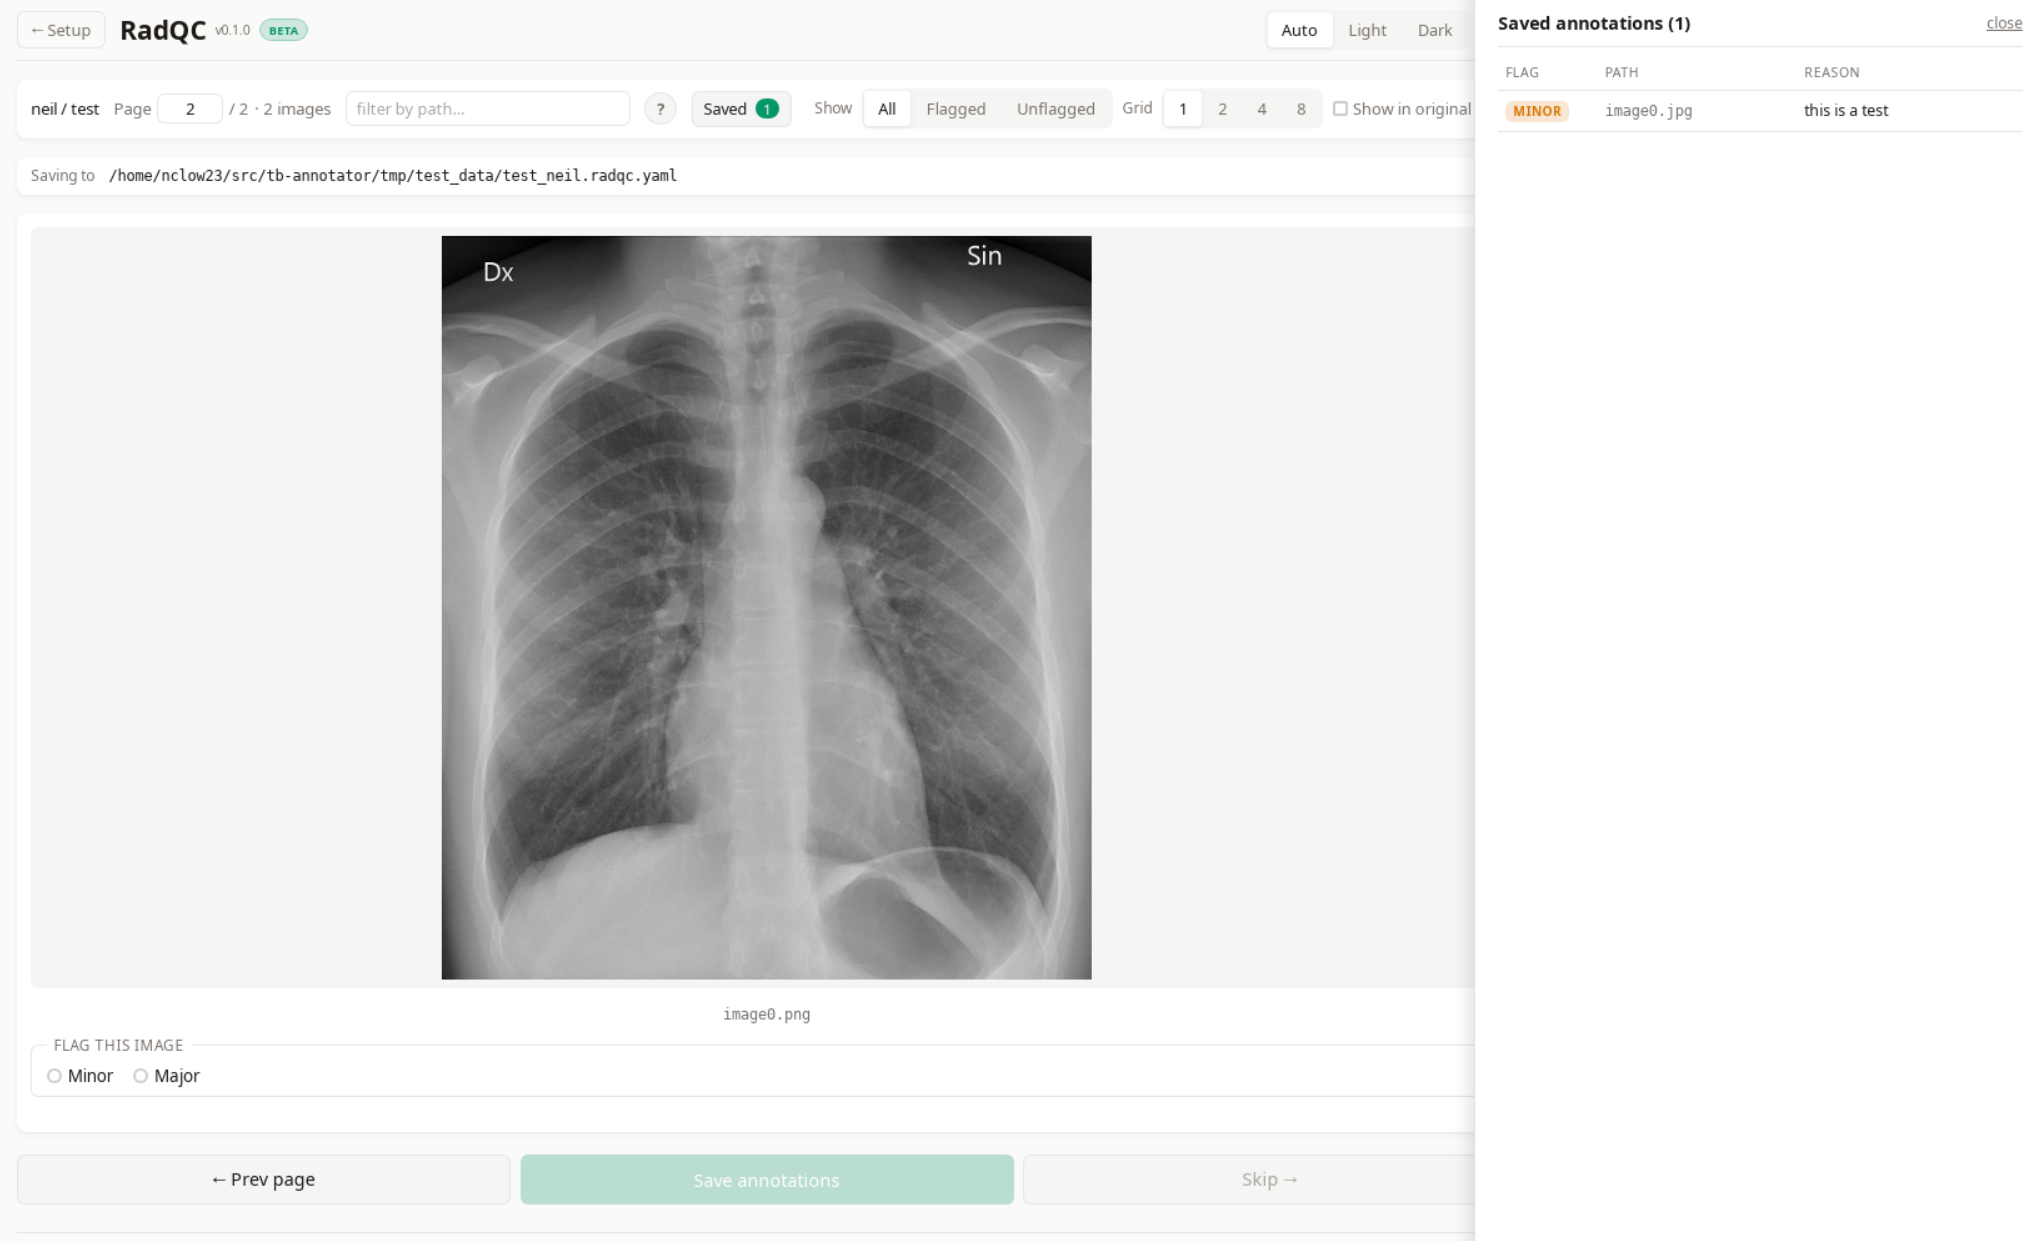
Saving
Click Save N annotations to write the page's annotations to the YAML file and advance to the next page. Saved images are marked with a confirmation tag.
Additional controls
Grid size
View 1, 2, 4, or 8 images per page.

Filter
Restrict the visible list to All, Flagged, or Unflagged images. Useful for reviewing or re-checking only the images you have already flagged.
Path search
Type a substring of an image path to narrow the visible list. Combines with the Filter setting.
Other
- Show in original size — display the image at its intrinsic pixel size (single-image mode only).
- Page jump — type a page number into the page counter to navigate directly.
- Saved side panel — table view of every saved annotation; clicking a row jumps to that image.
The output file
Annotations are written to a single YAML file at {output_folder}/{project}_{reviewer}.radqc.yaml:
radqc: 0.1.0
reviewer: neil
project: default
image_dir: /path/to/your/images
annotations:
  patient_001.png:
    severity: minor
    reason: slight rotation
  patient_007.png:
    severity: major
    reason: severe motion blur
Each save rewrites the file atomically (temp file + rename), so an interrupted save cannot corrupt the data. Re-annotating an image overwrites its previous entry; no history is retained.
Sharing or analysing the output
The YAML file is plain text and self-describing. It can be opened in any text editor, parsed by any YAML library (pyyaml in Python, serde_yaml in Rust, js-yaml in JavaScript, etc.), or shared with collaborators alongside the image folder.
Chest X-ray shown in the screenshots: Normal posteroanterior (PA) chest radiograph (CC0 / public domain), via Wikimedia Commons.
_chest_radiograph_(X-ray).jpg)